

Eppendorf Research Plus calibration requires great care, a high attention to detail, patience, and steady hands. Please dedicate a good work area with good lighting and space where small parts can be located should they pop out during disassembly. Pipette damage and lost parts may occur if attention to detail is not maintained. Please proceed at your own risk.
The only item you will need for this calibration will be a knife or other flat tool.
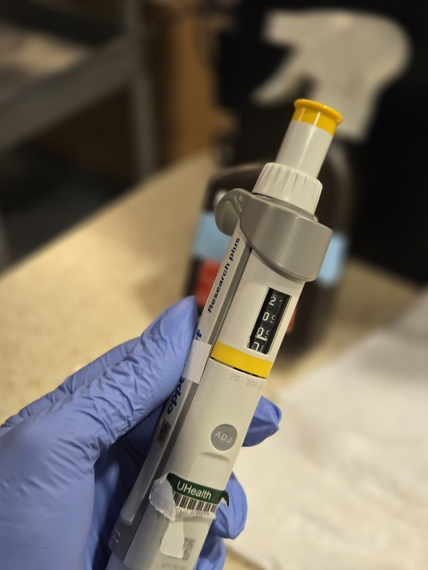
This is the Eppendorf Research Plus Single Channel Pipette:
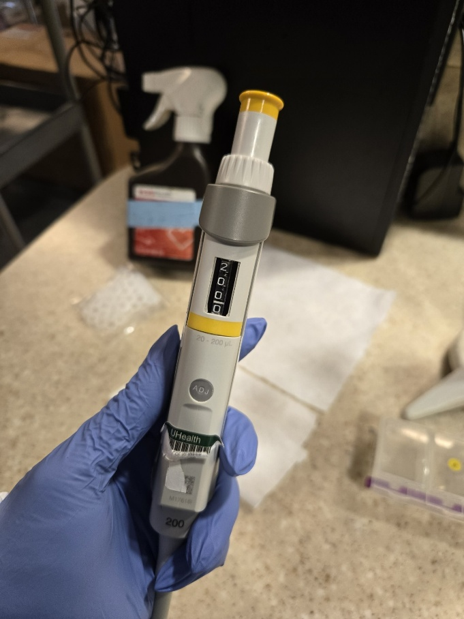
Many people are used to calibrating this pipette by pushing down on the calibration tab located directly behind the ejector button. Occasionally, the Eppendorf Research Plus calibration tab does not function properly, and the counter assembly rotates when pushed down, even though it should remain stationary. Below are instructions to work around this problem so you can still calibrate the pipette to be at a higher or lower volume.
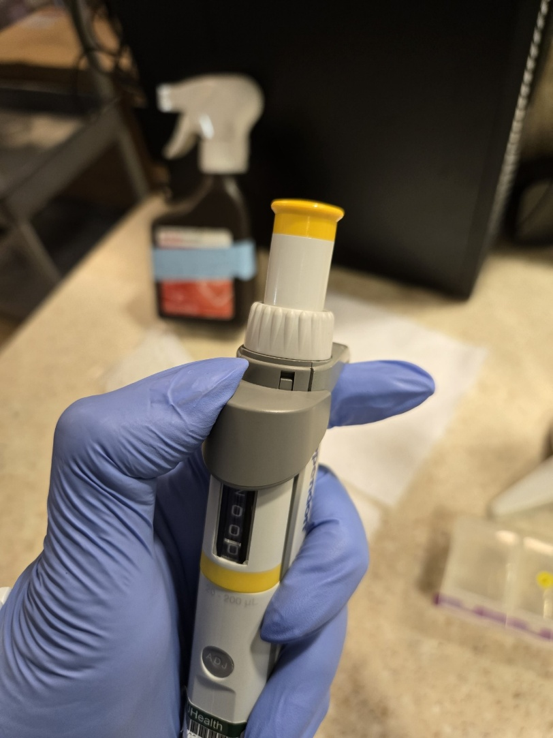
Step 1:
Remove the ejector button.
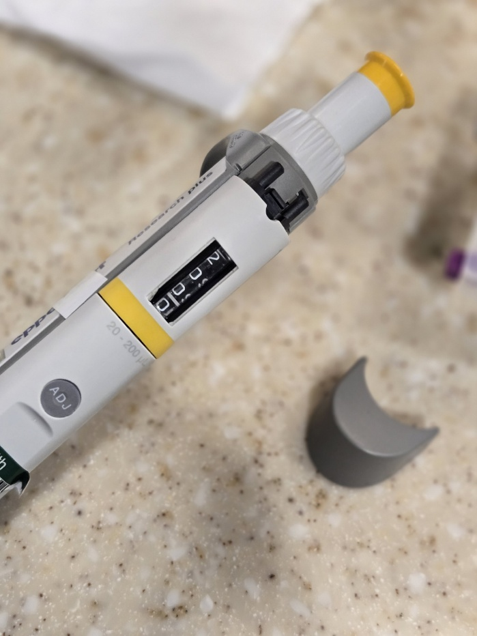
Step 2:
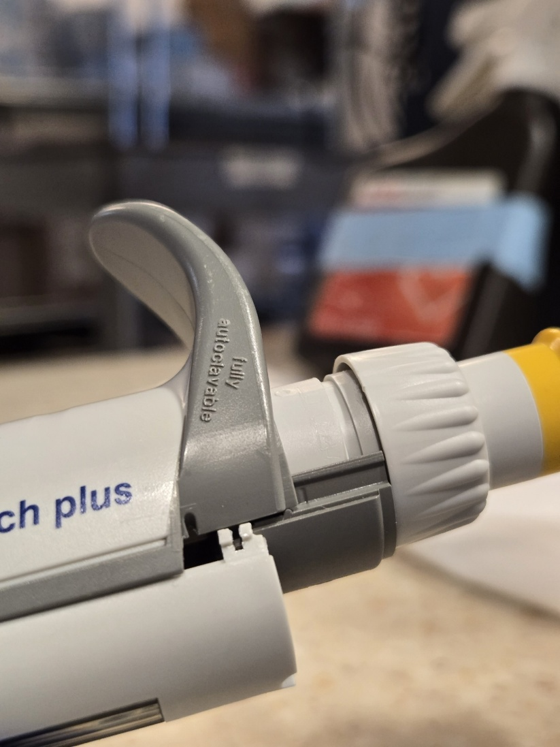
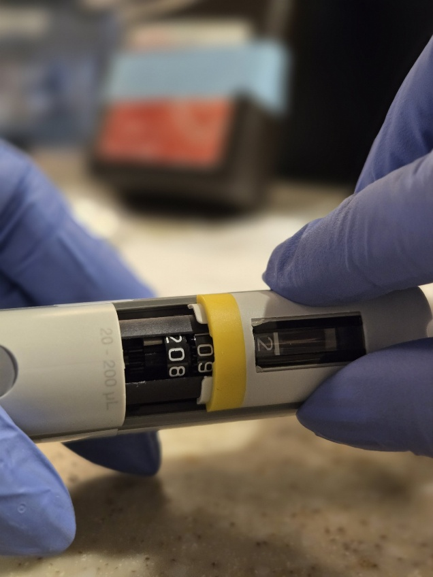
Use a knife or flat edge tool to lift the display window by pushing upward. Make sure to lift the window gently. There are two small tabs on each side that hold it in place and they can break if you try pulling the window out (towards you) instead of up and away from the pipette.
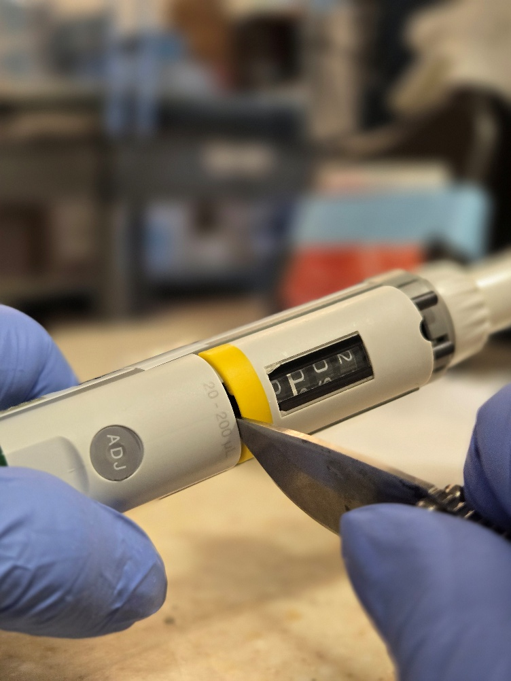
Step 3:
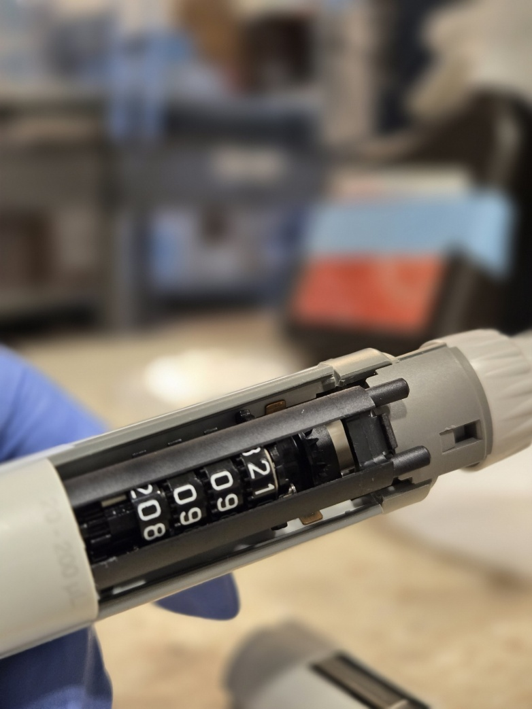
Continue pushing the display window upward until the volume adjustment knob and plate have lifted up away from the pipette. Remove the window display.
Step 4:
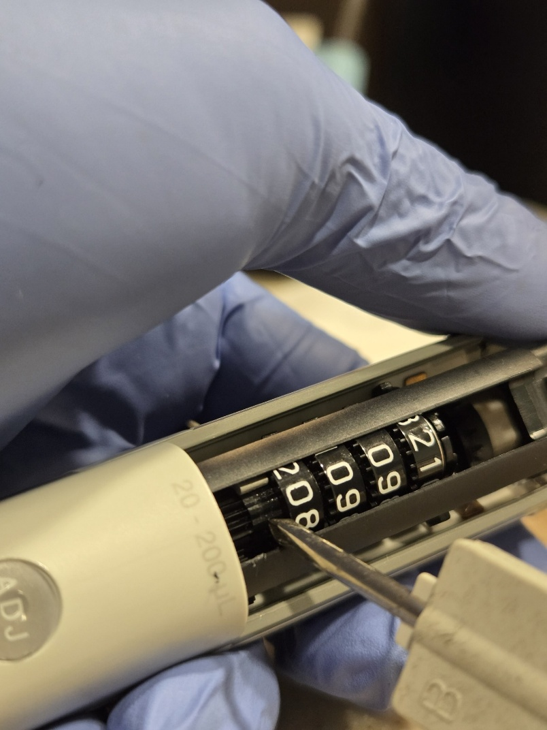
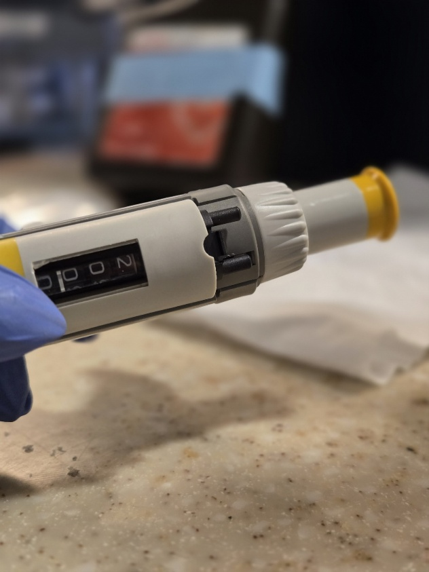
If the volume adjustment knob is pushed back down into place, the volume can still be adjusted using the counter assembly. When adjusting the volume, keep the volume adjustment knob raised and away from the pipette, and use a tool to manually turn the gears.
If you need to adjust to a lower volume, turn the gears to lower the displayed volume. If you need to adjust to a higher volume, turn the gears to raise the displayed volume.
Step 5:
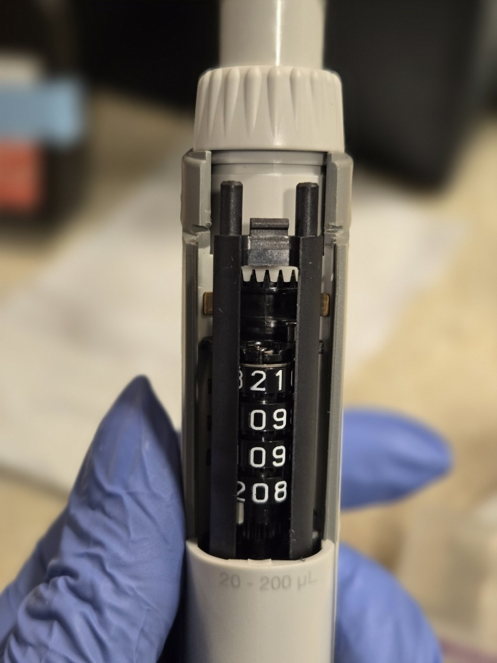
Lower the volume adjustment button to turn the counter assembly back to the desired testing point. Let the pipette rest. Leave the window display off until you have the pipette at the desired volume, in case you need to readjust.
Step 6:
Once the Eppendorf Research Plus is at the desired volume, raise the volume adjustment knob and reassemble starting with the window display, then the plate, and finally push down the volume adjustment knob. Retest.
Related Posts:
How to adjust an Eppendorf Research Plus Fixed Pipette
Eppendorf Research Plus Sealing Ring Replacement Instructions (1000uL)
Eppendorf Research Plus, 16 and 24 Channel: Nose Cone Replacement
Eppendorf Xplorer Adjustment Instructions
Disclaimer: Any action you take using the information on this website is strictly at your own risk. The information herein does not constitute professional advice and is general in nature. We make no warranty that this information will meet your requirements, be safe, accurate, or error-free. Pipette Supplies, Inc. is not responsible for any errors or omissions, any results obtained from the use of this information, or any loss or damage arising out of the use of this information. This site is for educational purposes only.
Fair Use: Copyright Disclaimer under section 107 of the Copyright Act of 1976, allows for “fair use” for purposes such as comments, criticism, teaching, scholarship, news reporting, and research.
Fair use is permitted by copyright statute that might otherwise be infringing.