
The repair process for a Research Plus multichannel nose cone replacement requires great care, a high attention to detail, patience, and steady hands. Please dedicate a good work area with good lighting and space where small parts can be located should they pop out during disassembly. If you don’t maintain attention to detail, you may damage the pipette and lose parts. Please proceed at your own risk.
Replacement Parts:
Recommended Supplies:
- Gloves
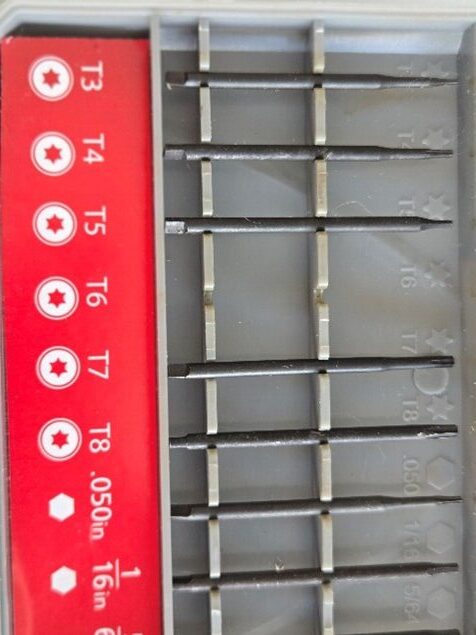
- Star screwdriver
- Flathead screwdriver
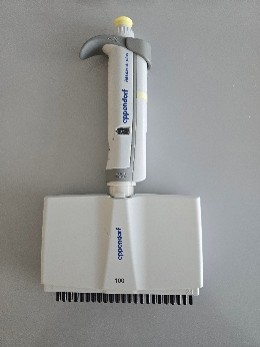
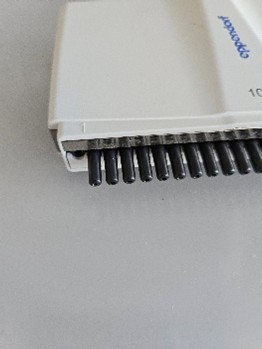
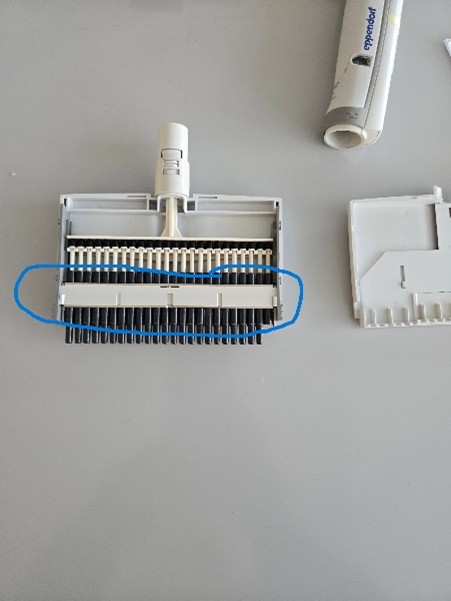
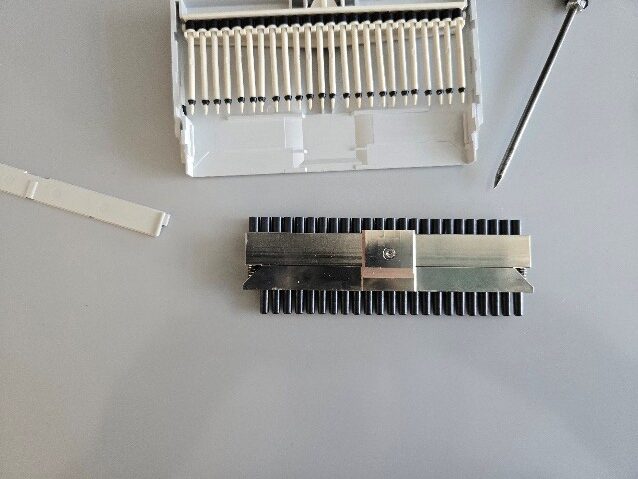
This is the 24-channel Eppendorf Research Plus. The first channel is broken off at the housing, so the entire channel needs to be replaced.
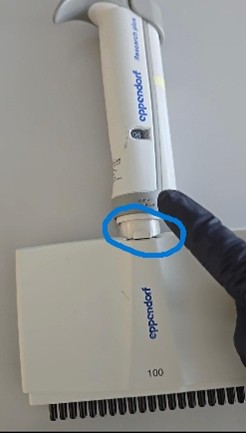
Step 1:
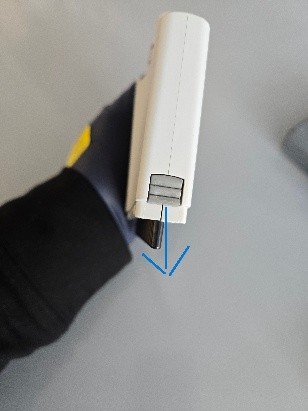
Begin by pulling this lever to the side to release the lower housing from the pipette body.
Open the housing by pulling the levers down to release the latch.
Step 2:
Once that is open, you’ll notice this plate that holds everything in place. Remove the plate (use a flathead screwdriver to help).
Step 3:
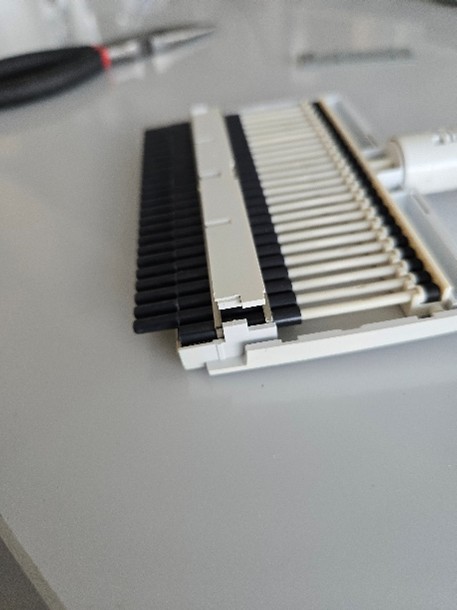
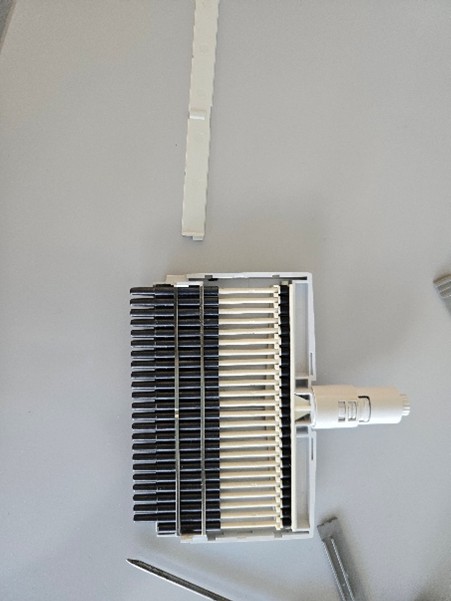
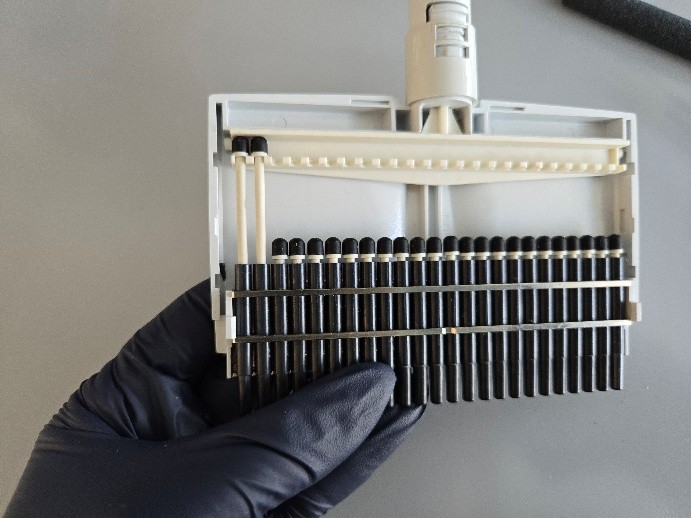
This entire lower unit is attached and will move together. The nose cones need to be removed entirely, which is done by sliding the unit down.
Once that is done, flip the entire unit over and you’ll see the screw that holds it all in place.
You will need a star screwdriver to remove the plate.
Step 4:
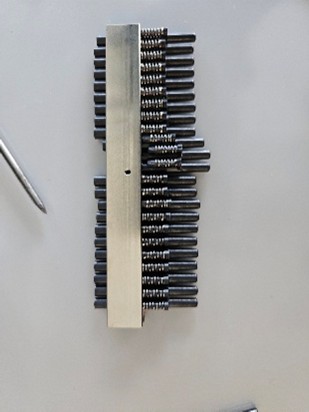
Once the plate is unscrewed you can remove it, but do so carefully because it is the only piece holding the nose cones in place. They will slide out easily. Be careful not to lose the springs that are attached to the nose cones.
NOTE: When you purchase a replacement nose cone, the spring is NOT included. You will need to use the one from the broken piece.

Step 5:
When you have replaced the nose cone, reattach the plate and screw it back in place. You’ll notice the bottom of the plate acts as a lip that holds the nose cones in place.
Step 6:
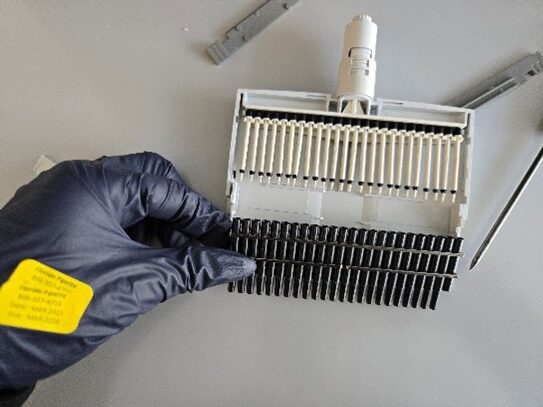
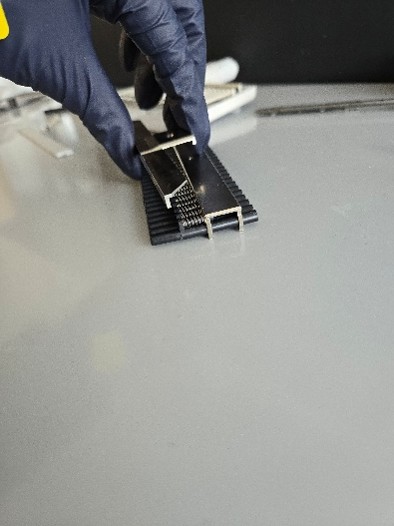
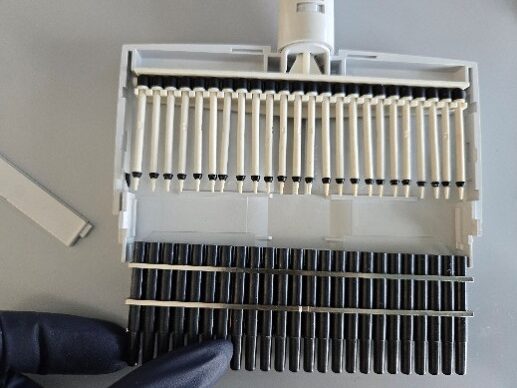
Once the plate is screwed back on, turn the assembly over so the screw is facing down. Carefully slide the nose cones back into the housing. All the nose cones must line up properly with the pistons or you will risk breaking a piston.
Another way to tackle this is to remove each piston and insert it into the nose cone first, once the nose cones are back in place, raise each piston individually and hook the back into the housing.
Step 7:
Reassemble the housing and reattach the housing to the body. It will snap back into place like a Research Plus single channel.
Related Posts:
Eppendorf Research Plus Sealing Ring Replacement – 1000uL
How to Calibrate an Eppendorf Research Plus Fixed Pipette
Top 10 Crimes Committed Against Pipettes
Disclaimer: Any action you take using the information on this website is strictly at your own risk. The information herein does not constitute professional advice and is general in nature. We make no warranty that this information will meet your requirements, be safe, accurate, or error-free. Pipette Supplies, Inc. is not responsible for any errors or omissions, any results obtained from the use of this information, or any loss or damage arising out of the use of this information. This site is for educational purposes only.
Fair Use: Copyright Disclaimer under section 107 of the Copyright Act of 1976, allows for “fair use” for purposes such as comments, criticism, teaching, scholarship, news reporting, and research.
Fair use is permitted by copyright statute that might otherwise be infringing.
